

How To Change Photo Size In Photoshop
How To Resize An Image Or Layer In Photoshop
Whether you need to fit your photo to a certain dimension or rescale a layer to fit your projection, learning how to resize an image in Photoshop is important. There are a few different ways that you can practice information technology, but some volition get out you will a lower quality image than what you lot started.
To ensure y'all maintain the aforementioned high-res quality that yous started with brand certain to follow three of the best methods outlined below.
3 Means Resize Images Without Losing Quality
Below are three of the best means to resize an image in Photoshop without losing quality. Whether you want to rescale an unabridged epitome or just make a layer bigger, these options brand it easy.
ane. The Image Size Aligning
The Image resize adjustment lets you alter the dimensions and resolution of a photo. If you take specific dimensions you demand to match, this method is very effective. Especially if you lot're trying to print a photo, you tin can directly alter the prototype size to get the best results.
Here'south how to do it:
Step 1: Become To Image > Image Size
With the layer, you want to make bigger selected, go upwardly to Image > Epitome size.
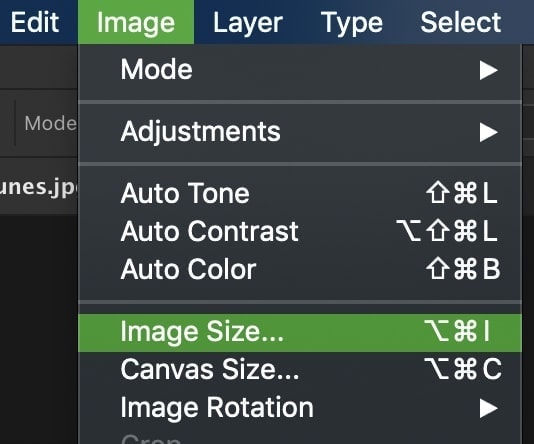
Alternatively, you can use the keyboard shortcut Option + Command + I (Mac) or Alt + Control + I (PC) to admission the aforementioned tool.
Step 2: Set Your New Image Dimensions
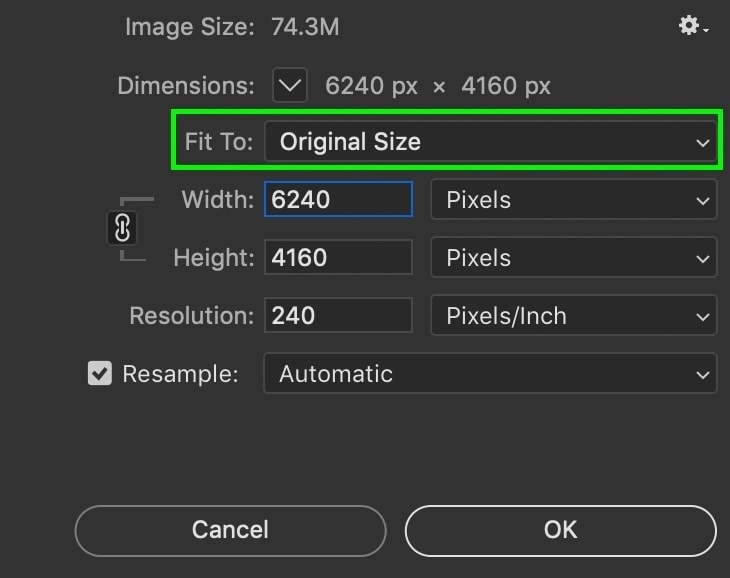
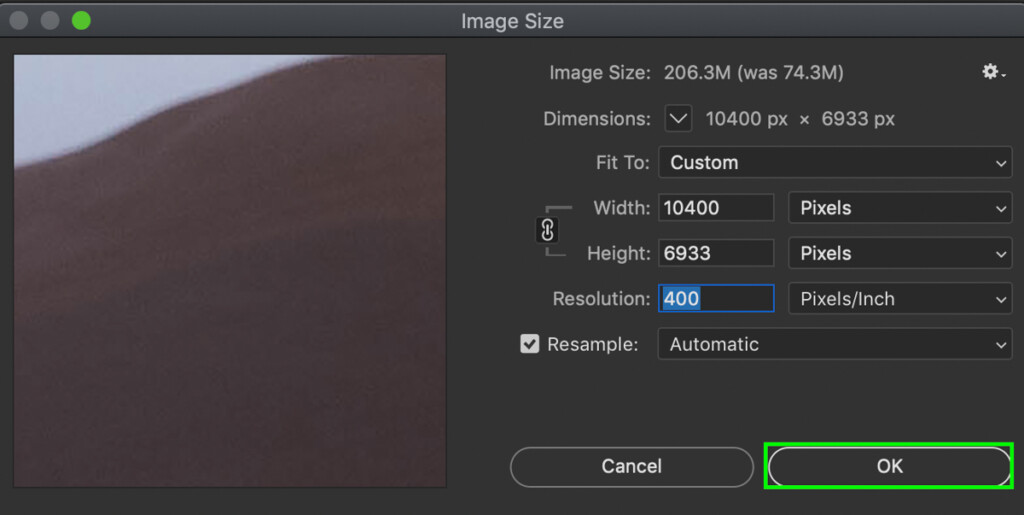
In the Image Size dialogue box, there are a few different options to work with. The kickoff one to look at is your prototype's current dimensions.
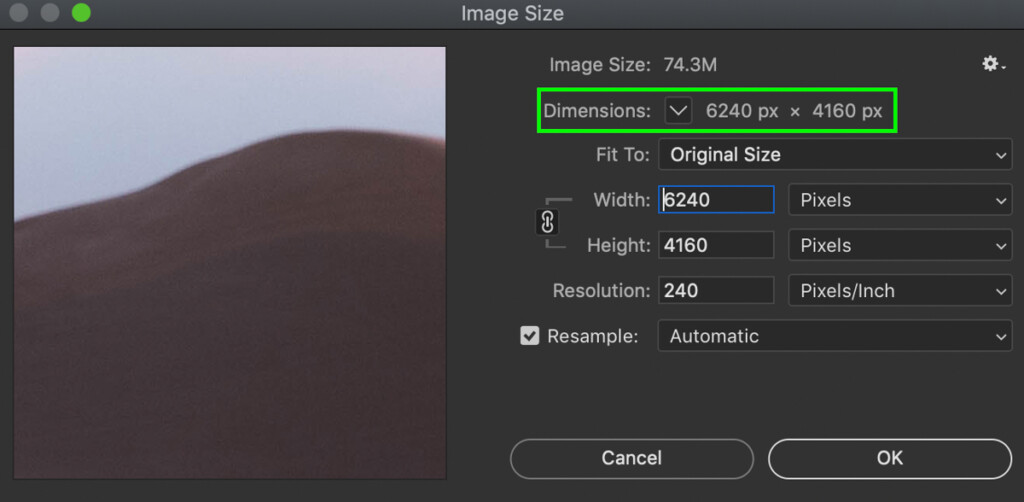
Located near the tiptop of the window, you can change the dimension measurements by clicking on the drib-down menu.

This tin be useful if yous have an easier time visualizing paradigm size with a different kind of measurement. After all, it's easier to imagine the size of a 4×2″ rectangle than a 1920×1080 pixel image.
Below that, you'll find the width and top options. By default, they'll be set to match the current size of your paradigm. However, they can exist adjusted to whatever prototype size you're going for.
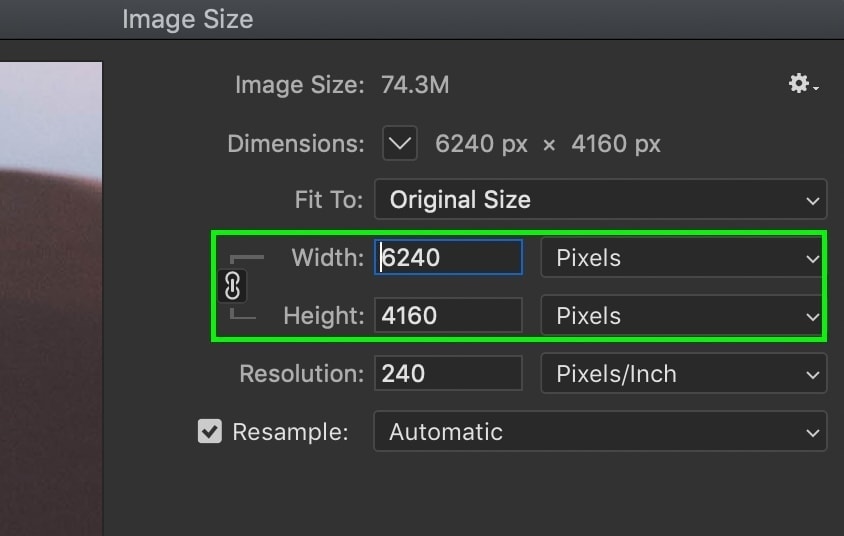
To edit them, simply click on the width or tiptop value, and type in a new dimension.
If you're trying to resize your photo for impress, information technology can be useful to modify the dimension value to inches or centimeters. That mode, if yous're trying to print an viii×x inch photograph, yous can type in those exact dimensions.
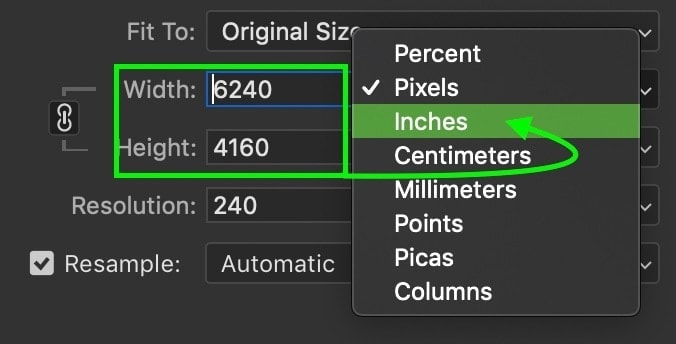
This just makes it a heck of a lot easier to get authentic sizing when you calibration your photograph.
Now sometimes, yous may not want to keep the same aspect ratio that you started with. In that instance, y'all'll want to click on the chainlink icon beside the dimension values.
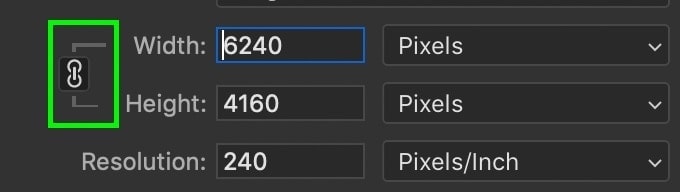
With your width and height unlinked, they can exist adjusted independently. Otherwise, they'll automatically be adapted to lucifer the original attribute ratio of your photo.

Lastly, you can choose from various preset image dimensions and resolutions via the Fit To option.

Step 3: Change Your Image Resolution
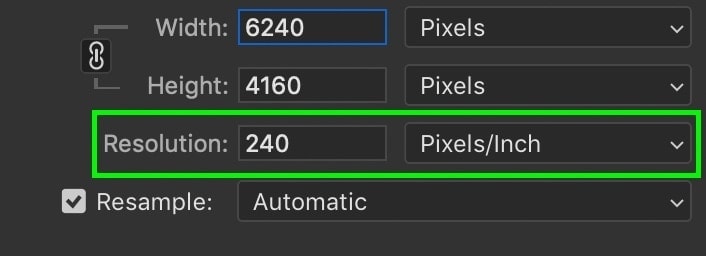
With your image dimensions enlarged, it'south time to change the resolution. In simple terms, a higher resolution will requite you more pixels in your epitome, which ultimately creates a higher quality and more than crisp looking photo.
At that place are two unlike means you lot tin ready the resolution, which is in PPI (Pixels Per Inch) or PPC (Pixels Per Centimeter).
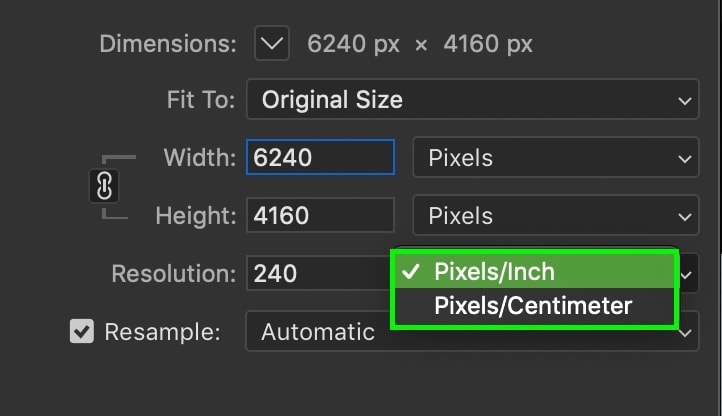
Information technology doesn't actually matter which resolution measurement you use. Just be aware of this setting if you're trying to match specific image specs.
To increase the resolution of your photo, merely blazon in a new resolution value.
From there, make certain the resample option is checked off and set to Automatic.

This setting ensures your photo maintains its quality, even if yous're making the dimensions significantly bigger.
Pace 4: Apply Your Resize Settings To The Photo
With all your settings proficient to get, but press OK at the bottom of the Image Size dialogue box.
Depending on how drastic your enlargements were, Photoshop may take a infinitesimal to employ your effects.
Once complete, your image will increase in size to friction match the dimensions and resolution you lot set earlier.
This method is one of the fastest ways to resize an image while ensuring you lot don't lose image quality.
– Using Smart Objects
Now the previous method enlarged a unmarried layer within its own projection. Then what if y'all desire to resize a layer that can all the same be freely moved between Photoshop documents?
Well, that'due south where smart objects come into play.
Smart objects are a way to resize layers in Photoshop without losing whatever quality. Since they place your prototype into a "container," you only ever edit the container and not the actual image.
So even if you lot were to scale upward and down a layer over and over, you would maintain the same consistent quality. With raster layers, you'd end upwards with a pixelated, low-resolution mess.
You lot tin can learn how smart objects work more in-depth in this post.
For now, let'due south proceed and acquire how to employ smart objects to enlarge a layer.
Pace one: Convert Your Layer Into A Smart Object
Before y'all adjust your layer, you need to starting time catechumen it into a smart object. With your desired layer selected, simply correct-click and choose Convert To Smart Object.

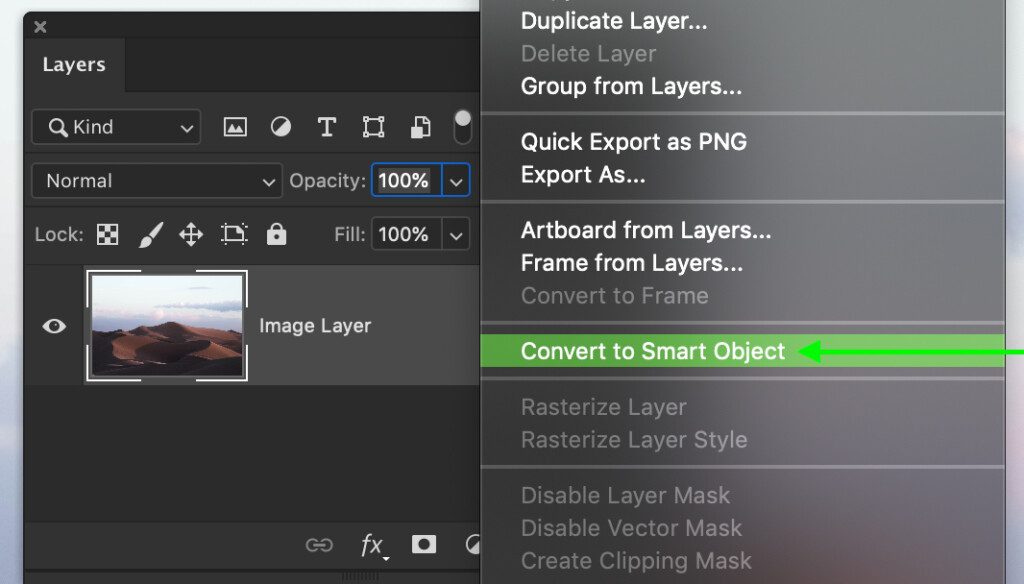
You'll know your layer is a smart object from the smart object icon over your layer's thumbnail.

Stride 2: Resize Your Layer With The Transform Tool
To adapt your layer'due south size, printing Command + T (Mac) or Control + T (PC) with your smart object layer selected.
Clicking on any corner of the transform box, you tin scale your image to fit your needs.

If you demand to move it into another certificate, merely select the Motion Tool and drag and drop information technology into your other project.

With two uncomplicated steps, you tin can quickly make your photo bigger or motility it betwixt projects. The merely downside to this method is that you cannot control the exact dimensions of the photo.
However, if y'all're working on a canvas with particular epitome dimensions, using smart objects is a great way to make your photograph fit on the sheet. Best of all, it guarantees you keep the highest image quality, no thing how much you scale the layer.
– Drag & Drib From Your Computer
For the third way to resize images without losing quality, all you lot have to practice is drag and driblet them from your computer. When you drag and drib files, Photoshop allows you to automatically reposition and scale the layer.
After you commit to your changes, the layer is converted to a smart object and maintains its original image quality. If you want a more direct way of scaling images and layers, and so this method is for y'all.
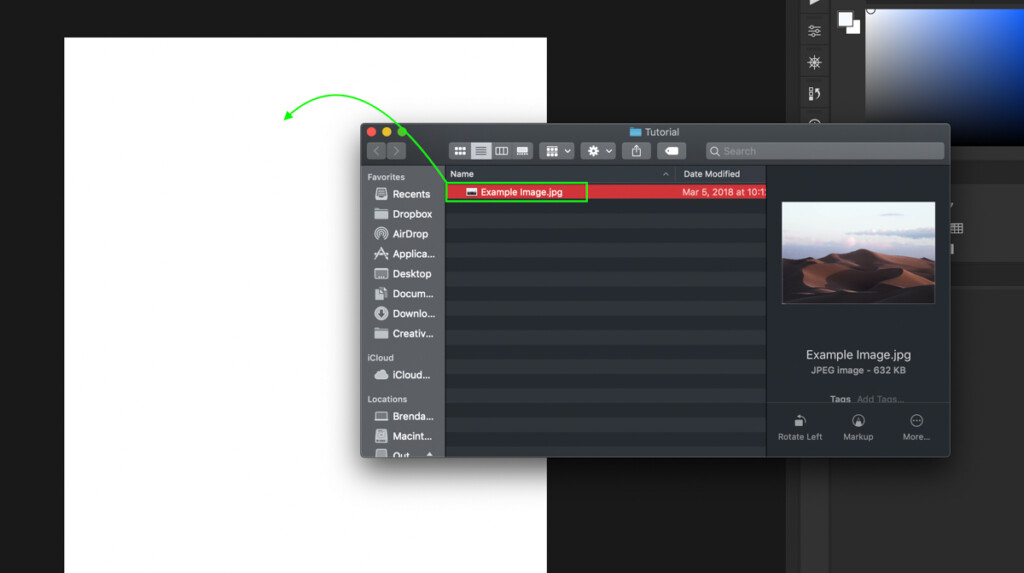
Pace 1: Select A File From Your Reckoner
With Photoshop already open, locate the file you lot want to work with on your estimator.

Pace two: Drag And Driblet The File Into Photoshop
With your desired image selected, merely click and elevate it onto your Photoshop document. This will automatically import it into your Photoshop document and allow you brainstorm to work on the photo.
Pace 3: Resize Your Image To Fit Your Canvas
When you first import the photo, you'll notice a transform box around the image. That means yous can adjust the size of your layer as needed.
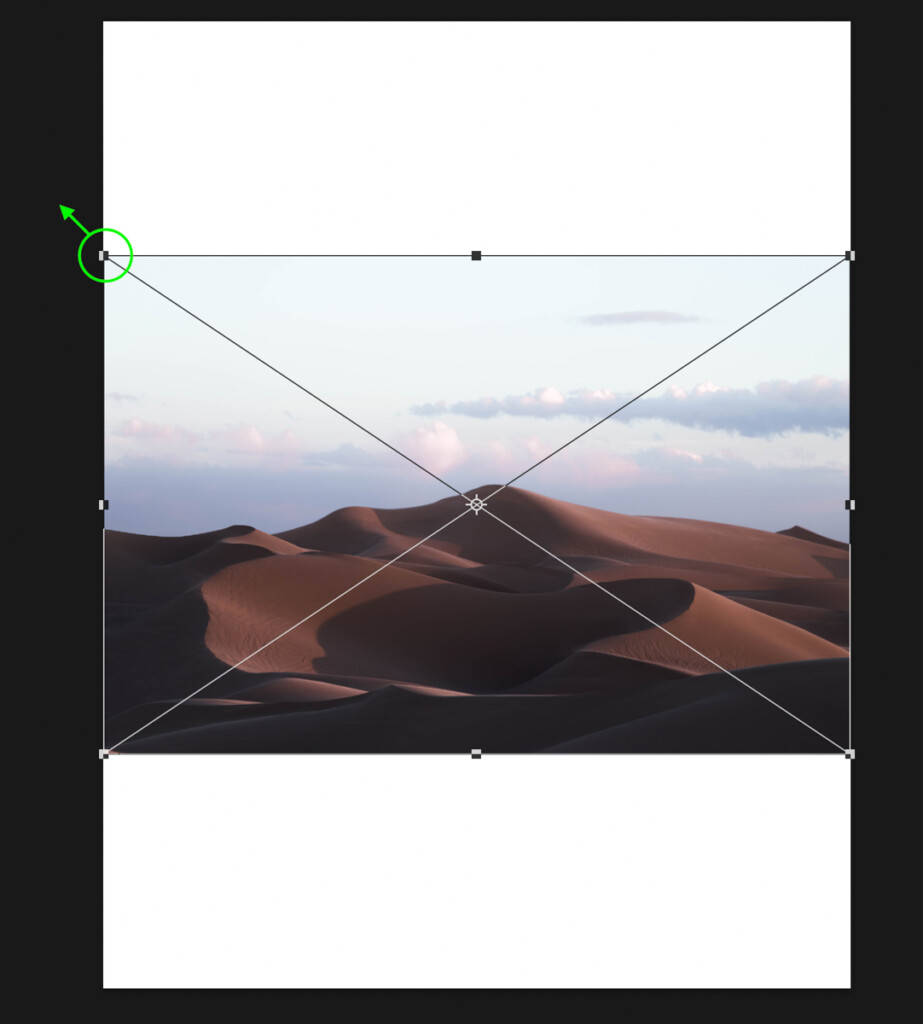
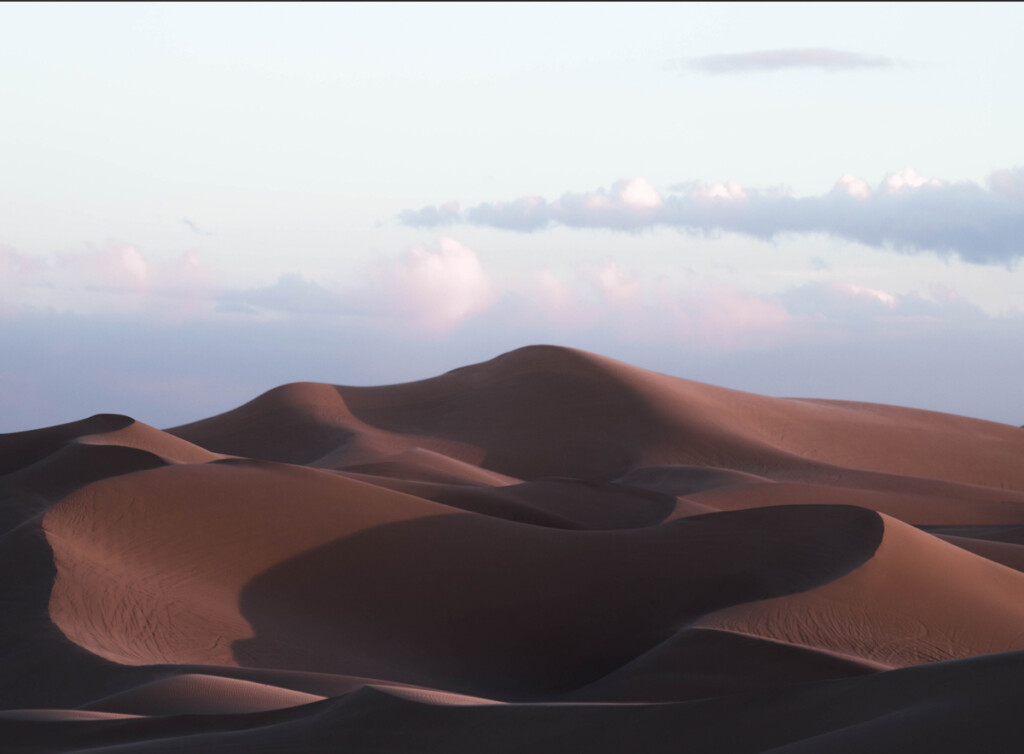
For this example, I want to make full my entire canvas with the photo, so I'll click on the corner and drag it out accordingly.

Since the image isn't officially placed, you don't accept to worry about converting it to a smart object quite yet.
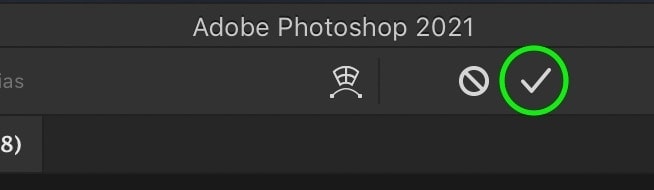
Step 4: Commit To Your Changes
With your prototype in the correct position, hit the bank check box at the meridian of your screen to commit to the changes. Yous can likewise press the Enter Fundamental on your keyboard instead.
Now your scaling adjustments will be applied, and your new layer will be shown as a smart object in your layers console.

If you need to make further adjustments to the layer's size, simply select the layer and grab the Move Tool by pressing 5.From there, y'all'll be able to change the size and position of your layer.
How To Resize Your Canvas In Photoshop
Now that you lot know the three best ways to resize images in Photoshop without losing quality allow's talk about your canvas. In some cases, you lot'll want to resize your unabridged canvas rather than a particular layer. Luckily this is very simple to do.
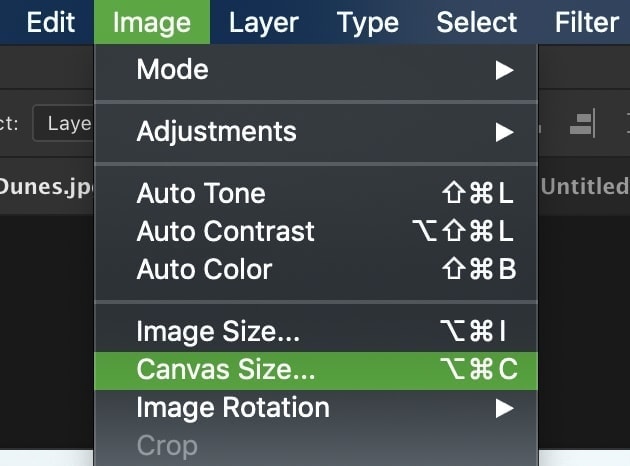
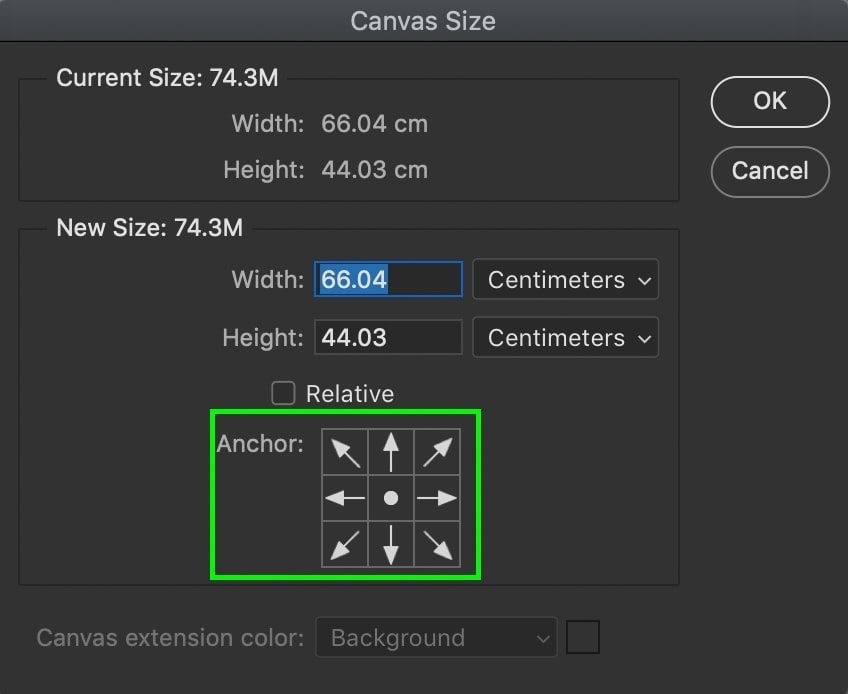
First, become up to Image > Sheet Size.
In the Canvass Size dialogue box, yous'll have 2 dimension values to set. But like with resizing the image, you can straight input the new dimensions yous want.
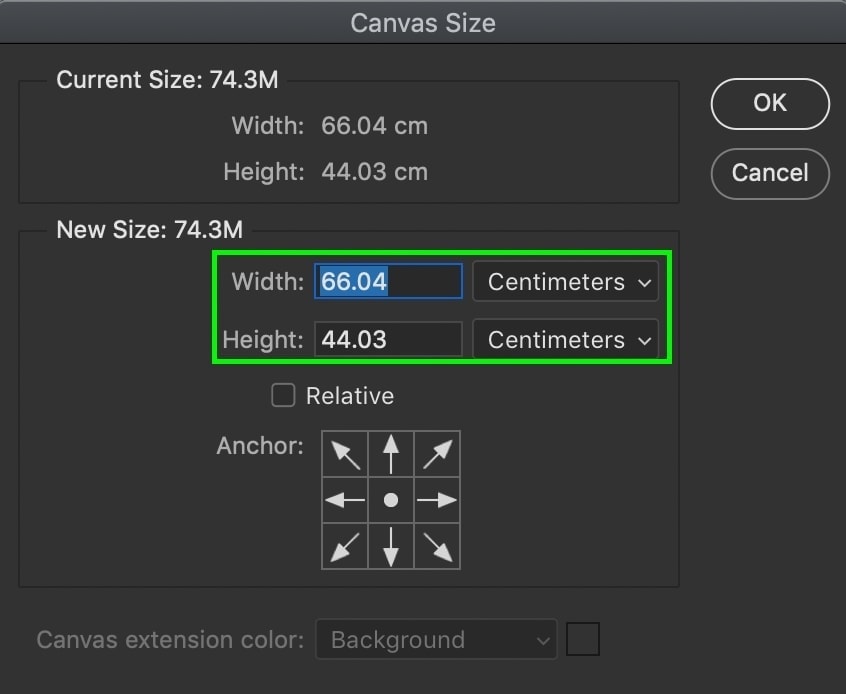
Yous tin can also change the measurement type via the driblet-down card beside the dimension values if need be.

Below the dimensions is an Anchor setting that lets you choose how your canvas is enlarged. By default, it is set to the middle, which means all sides of your canvas volition be expanded equally.
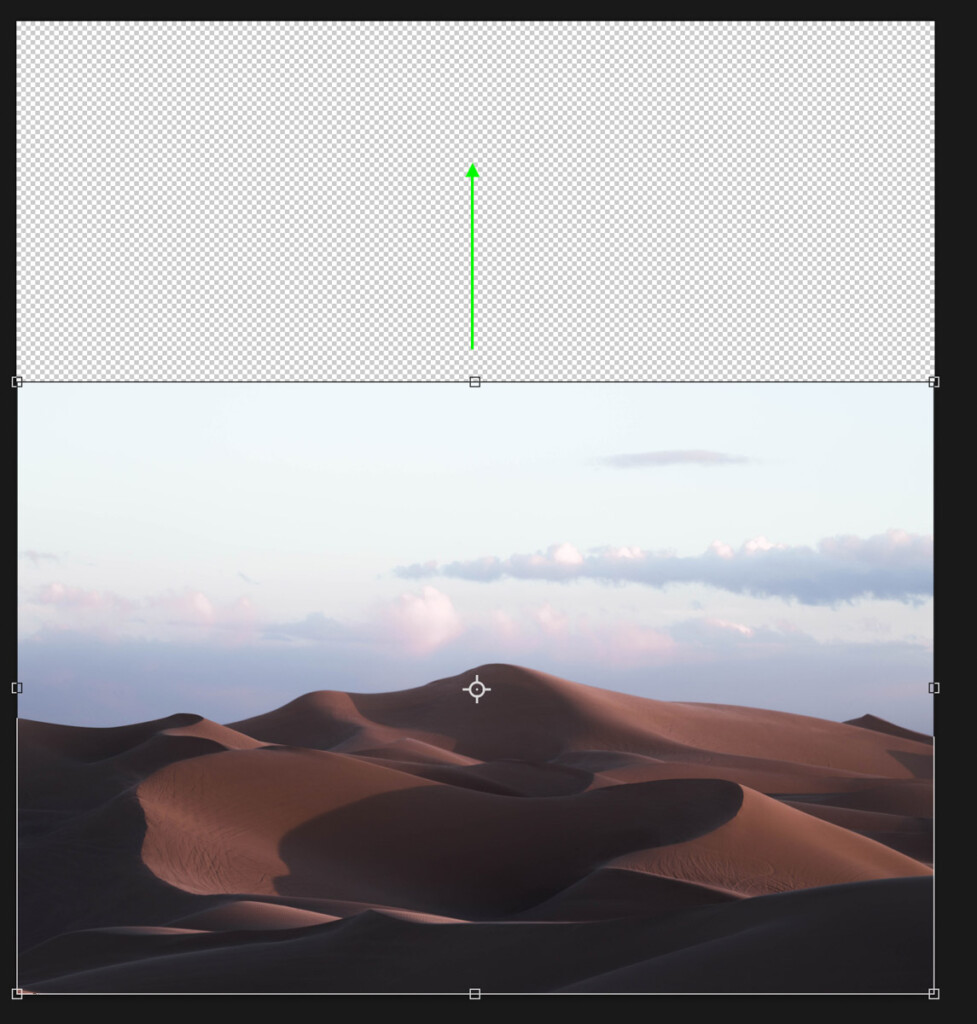
However, allow's say I want to extend my canvas vertically, just simply in the upward direction. I would ready my ballast point to the bottom heart and suit the elevation value appropriately.
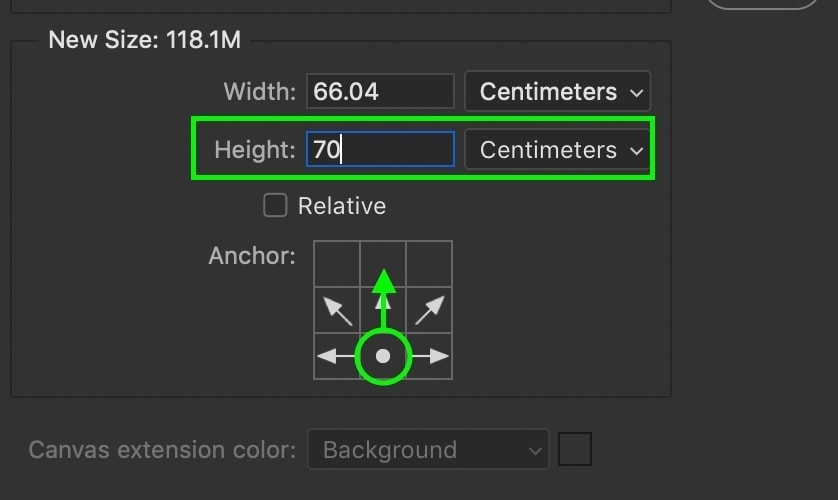
At present when I commit to the changes, the canvas will only extend from the upper area rather than the bottom.
The anchor point isn't ever necessary but tin be a helpful option if the opportunity arises. So information technology'southward worth keeping in mind!
How To Resize An Image By Dragging
To resize a layer by dragging, select the Movement Tool (V) and click on the layer you want to adjust. A transform box will appear around your layer, which you can click and drag the edges of. As y'all elevate out the corners, you'll exist able to resize your layer as needed.

With that said, it's important to retrieve that you lot may lose quality if yous don't beginning convert your layer to a smart object. If you resize a rasterized layer, you'll gradually lose quality equally you adjust the size of the layer.

Then earlier you significantly resize a layer by dragging with the Move Tool, make sure you are working with a smart object!
How To Stretch An Image When You Resize
To calibration and stretch an image, there are a few like shooting fish in a barrel shortcuts yous can use. With your layer highlighted, select the Move Tool and click on any border of the layers transform box. Belongings the Alt or Option key while scaling tin can stretch your layer horizontally or vertically.

This method will synchronize the stretch adjustments to both sides of your photo.
And so now you know a few different ways to resize an image in Photoshop without losing quality, plus additional tips to make photos bigger with ease. These are some of my favorite way of changing the size of images and layers in Photoshop, and some tend to be faster than others. Try experimenting with each of these options and come across which one works best for y'all!
Happy Editing,
– Brendan 🙂

How To Change Photo Size In Photoshop,
Source: https://www.bwillcreative.com/how-to-resize-an-image-in-photoshop/
Posted by: torresancom1966.blogspot.com
0 Response to "How To Change Photo Size In Photoshop"
Post a Comment